| | 
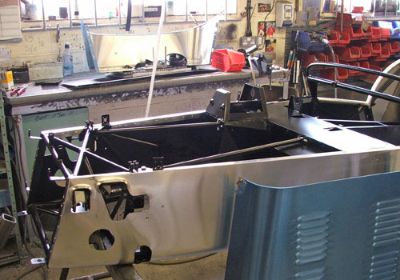
I had arranged to return a week later and have a look at the progress half way through the job, before the car was powder-coated and re-skinned. There she was, set upon some frames! Our chassis, complete with new front and extra bushes. It is only when you see the chassis in this state that you realise how much work goes into each one. The new front end was covered in small patches of gold, where the numerous brackets, bushes and tabs had been brazed into position. The new parts were seamlessly joined to the old central section, and although this part still looked grubby pre-blasting, the basic structure looked solid. The new lower rear end had meant that we now had the up-dated spare wheel rack, with its far neater number plate mounting bracket – although we don’t often carry a spare wheel I am a big advocate for keeping this structure on the car as a very effective rear bumper for minor parking incidents! Once again I left the factory having arranged to return the following week and see the re-skinned car. At our special request, Bruce had agreed to let us help put the final touches to the chassis when we returned – just the odd rivet. Don’t expect that every time, but it was a nice touch to be involved with finishing this major part of our cars history!
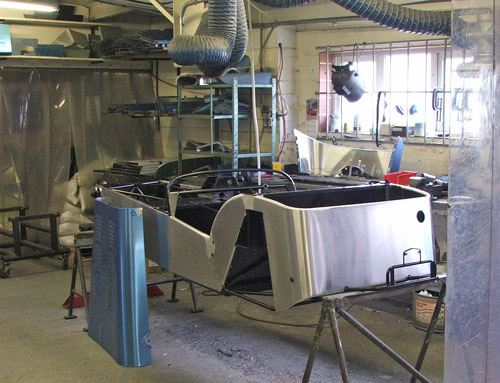
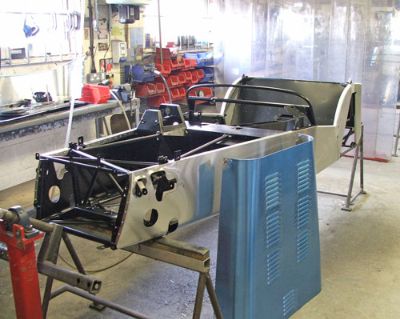
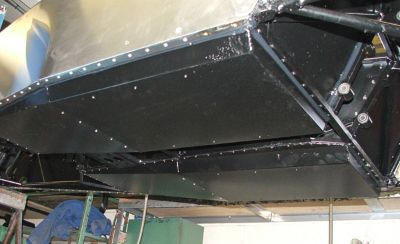
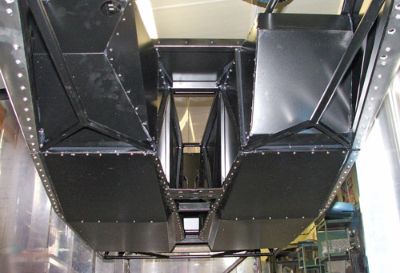
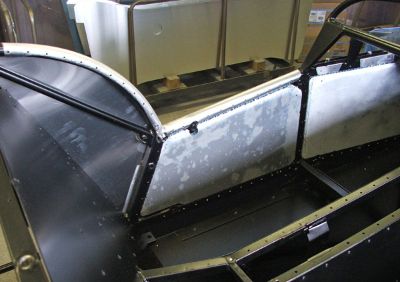
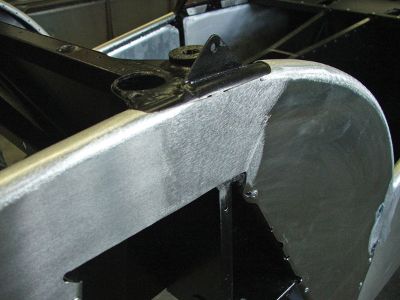
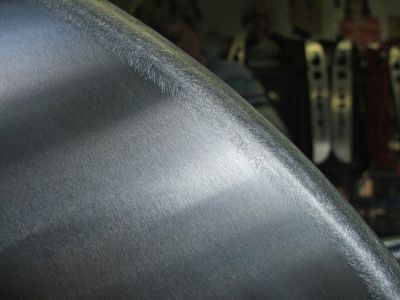
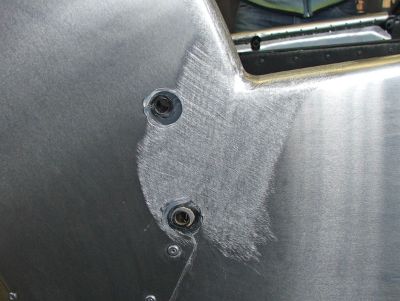
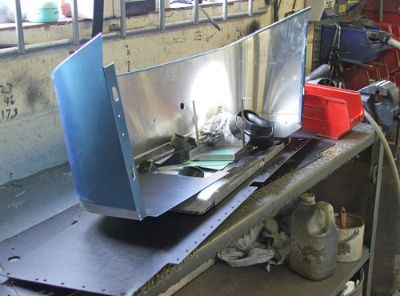
Wow – as we returned and walked into the finishing room at Arch we saw our ‘new’ car sitting there, looking very shiny and finished – and very black inside as well!! We spent quite a while just walking around her, taking in the work and understanding how it had been done, looking for new bushes and brackets and admiring the powder-coated panels. As before, only when the car is in this totally unpainted and indeed unpolished state, do you appreciate the craftsmanship. There are some areas of real complexity as far as aluminium panel beating, such as around the top corners of the rear panel/boot. At this stage we were also able to see where the side panels are welded together, just in front of the rear wheel arch.
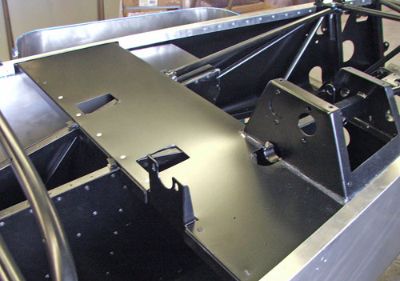
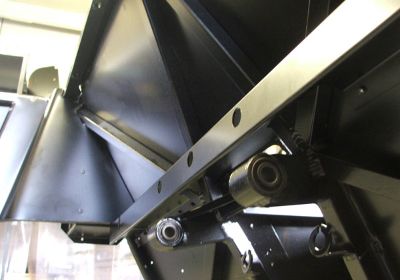
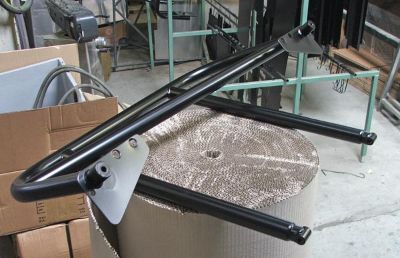
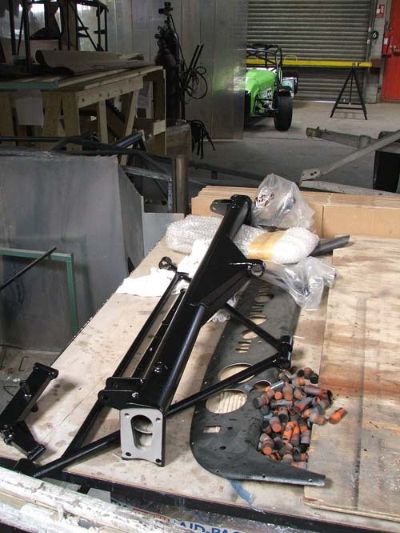
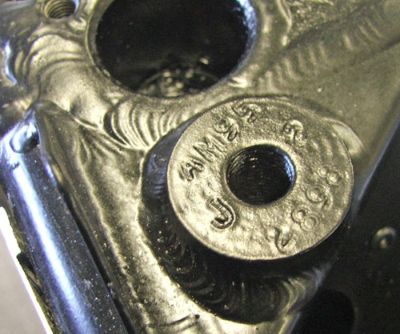
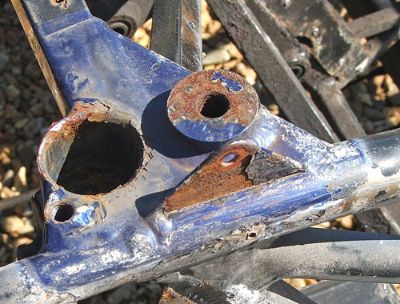
The chassis metal work looked fantastic after it had been bead blasted and powder-coated. There was no sign of any of the surface rust that had been apparent before. Some things even reappeared, having been lost under layers of paint and rust, such as the date stamp – you can find this on the extra boss that you see near where the roll bar is mounted into the chassis, just behind the drivers shoulder – ours is stamped ‘AM 95’ – Arch Motors 95
It also says J2 – this stands for ‘Jig 2’ – and means that whenever this particular car is worked on, it is fixed to the very same jig that was used when it was built originally – fantastic!
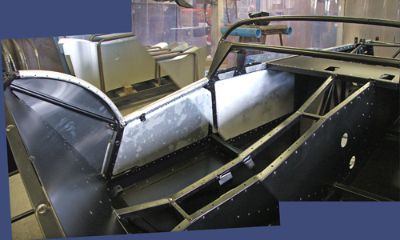
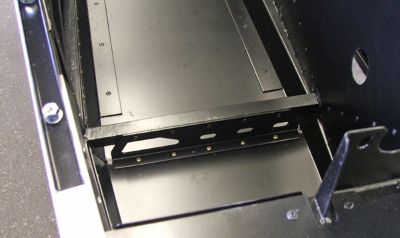
We had managed to get some un-used lowered floor panels from a friend who had decided not to use them. We had these for a while, waiting for the right time to fit them. We chose to get these fitted because we like being low within the car. For a long time our original S-type seats had been more reclined than normal, as the rear seat back frame had snapped, allowing the seat back to rest against the rear bulkhead. When we fitted our ‘new’ seats a few months before the rebuild, we noticed that these un-damaged seats actually held us more upright in the cockpit, which didn’t feel right – hence the desire for the lowered floors. We would be lower again, with crash helmets well below the level of the FIA bar when on track. These lowered floors are also substantially stronger than the normal’ flat’ versions. Not only is the gauge of aluminium thicker, but the extra folds provide extra rigidity and they are fixed to the car in such a way that the rivets are being used as they should be – our old floor suffered the common problem of almost falling off the car as the rivets holding it in from underneath fret and corrode away! The lowered floor was a development suggested to Caterham by Arch as a way of avoiding producing multiple heights of FIA bar for different markets and driver heights. A good example of the shared development between company and supplier, no doubt helped in this case by the fact that a few Arch personnel, including Bruce and his brother, own and use Caterhams, further increasing their knowledge of the product and how it is actually used.
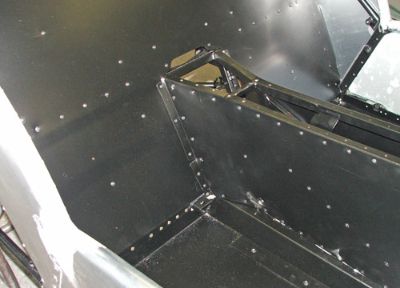
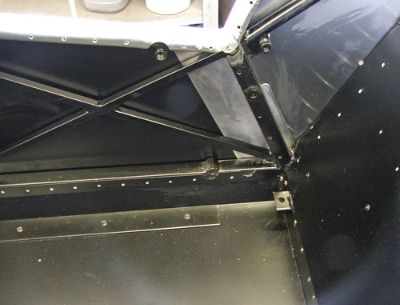
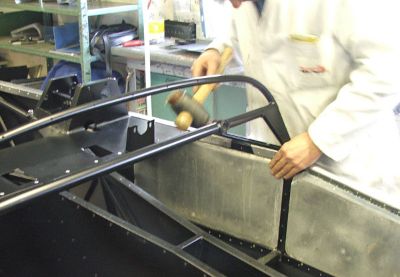
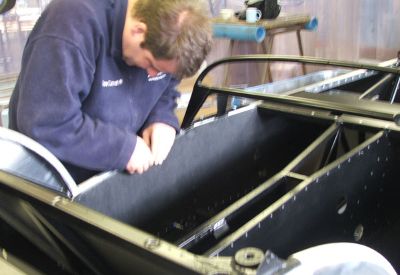
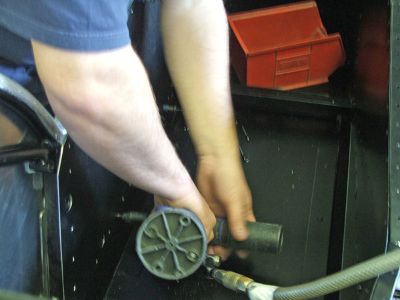
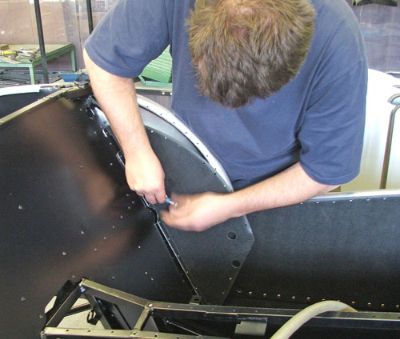
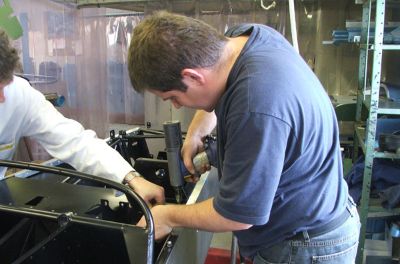
Bruce had left the fitting of the inner cockpit panels for us to do. Our old aluminium honeycomb side impact panels were cleaned off, and all we had to do was pop these in place and rivet the inner side panels in place. Incidentally, these honeycomb panels are not powder coated as the oven process affects the glue bonding the panels together.
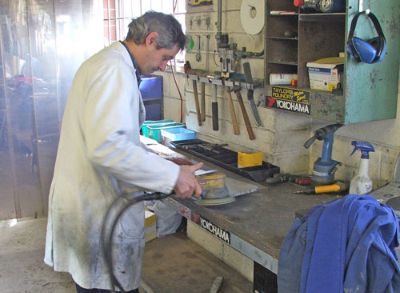
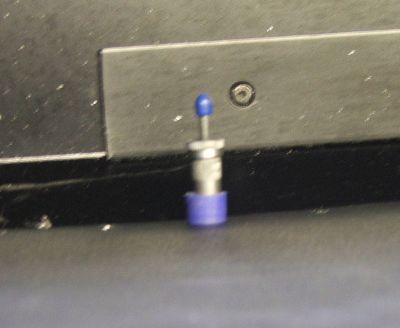
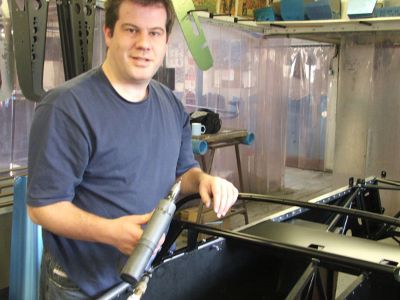
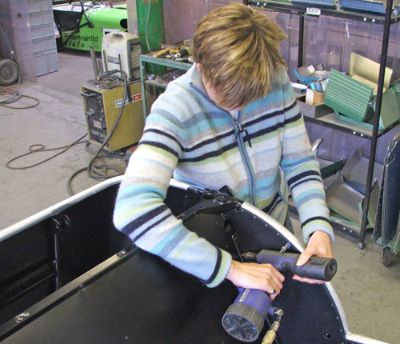
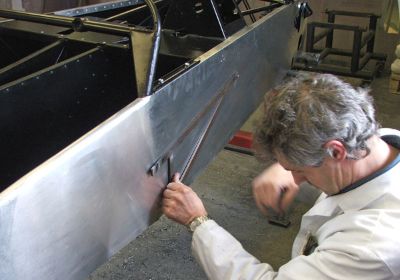
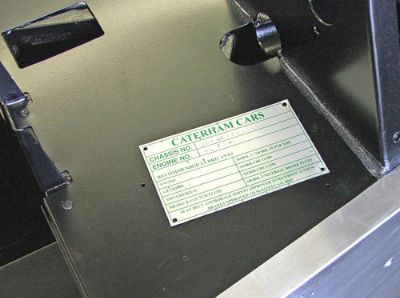
Before we fixed these panels into place, we made sure that we knew the location of any internal bushes we needed, and drilled some pilot holes – particularly for the bushes used for mounting the clamshell wings. We then used skin pegs to hold the side panels in place, before riveting them in place – ironically using a pneumatic rivet gun that my business partner Martin had designed a decade ago! There is something very satisfying about using this tool – a satisfying hiss and clunk leads to a perfectly inserted rivet – so much easier than the wrist-busting hand version! Tessa also had a go at doing this, remembering to leave the very top of the panel un-riveted as this is not done until after painting, when the rubber edge strips are inserted. The final job was fixing our chassis plate back onto the car – we both did that. Maybe we got too attached to the process, but it felt sort of symbolic!
And that was it – in less than 2 weeks we had a freshly welded, blasted, painted and skinned chassis! It was fascinating to be able to be involved in this process and watch what was involved. It’s a fantastic way to learn about how a Caterham is built, and understand the design and build. We are extremely grateful to all at Arch and particularly Bruce who was very accommodating with our unusual requests to come and watch and take pictures – I hope we didn’t get in the way too much!!
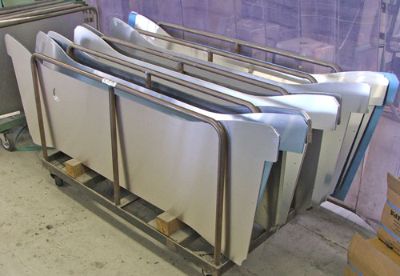
I hope he won’t mind me saying, but if you ever get the chance to visit Arch and see where all our cars are still made (they haven’t moved yet!!) then do so. If, like me, you like this sort of thing, it’s a great place to look around – and you soon realise how much of a Caterham is made here, as you walk past piles of side panels, scuttles, windscreens, wishbones, de dion tubes, dashboards and radius arms. These cars are hand built by craftsman, and I am proud of that fact. Seeing them made - and particularly being involved very slightly in seeing ours ‘restored’ - gives one an extra understanding of the cars, and extra dimension to the ownership experience. Of course we have become much attached to our car – we have done so much with it after all, met so many new friends, travelled to so many far off places and experienced some of the world’s greatest racetracks. We know we will never sell her, and thanks to our friend’s generosity and the guys at Arch, we know that our car is good to go for another 15 years, and another 90,000 miles before we call back!!!
 | |

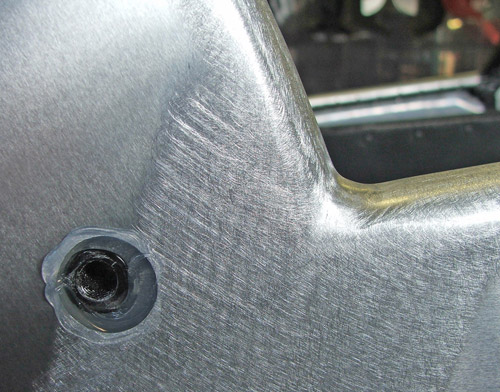 | |
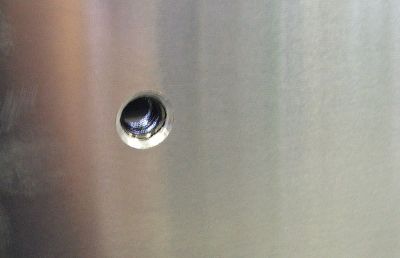
Some things even reappeared, having been lost under layers of paint and rust, such as the date stamp – you can find this on the extra boss that you see near where the roll bar is mounted into the chassis, just behind the drivers shoulder – ours is stamped ‘AM 95’ – Arch Motors 95
It also says J2 – this stands for ‘Jig 2’ – and means that whenever this particular car is worked on, it is fixed to the very same jig that was used when it was built originally – fantastic!
| |